> ## Documentation Index
> Fetch the complete documentation index at: https://docs.brm.ai/llms.txt
> Use this file to discover all available pages before exploring further.
# Creating your First Request Workflow
> Request workflows are a core part of the procurement process in BRM. In this guide, you’ll learn how to create your first request workflow by building a standard software purchase workflow.
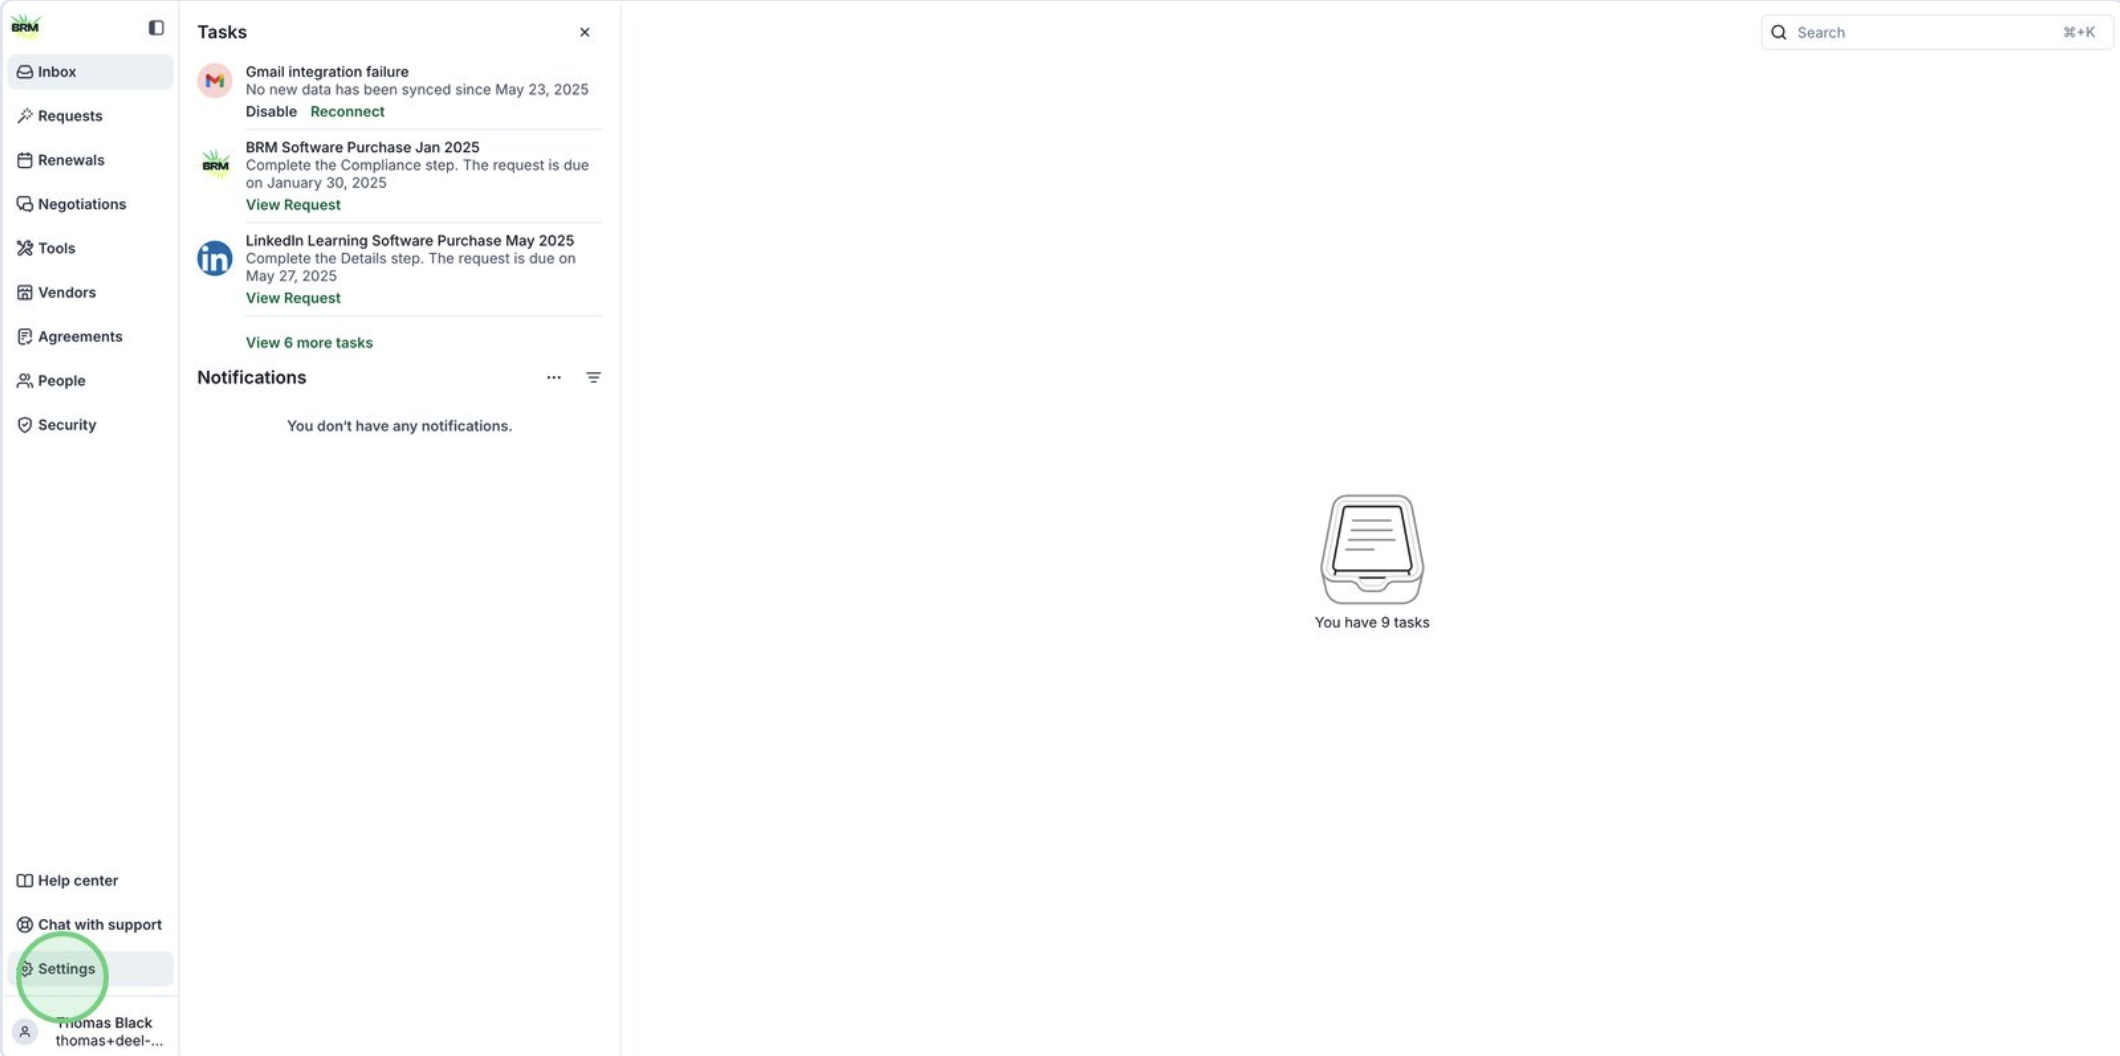
1. Start by opening the Settings menu to access system configuration options.
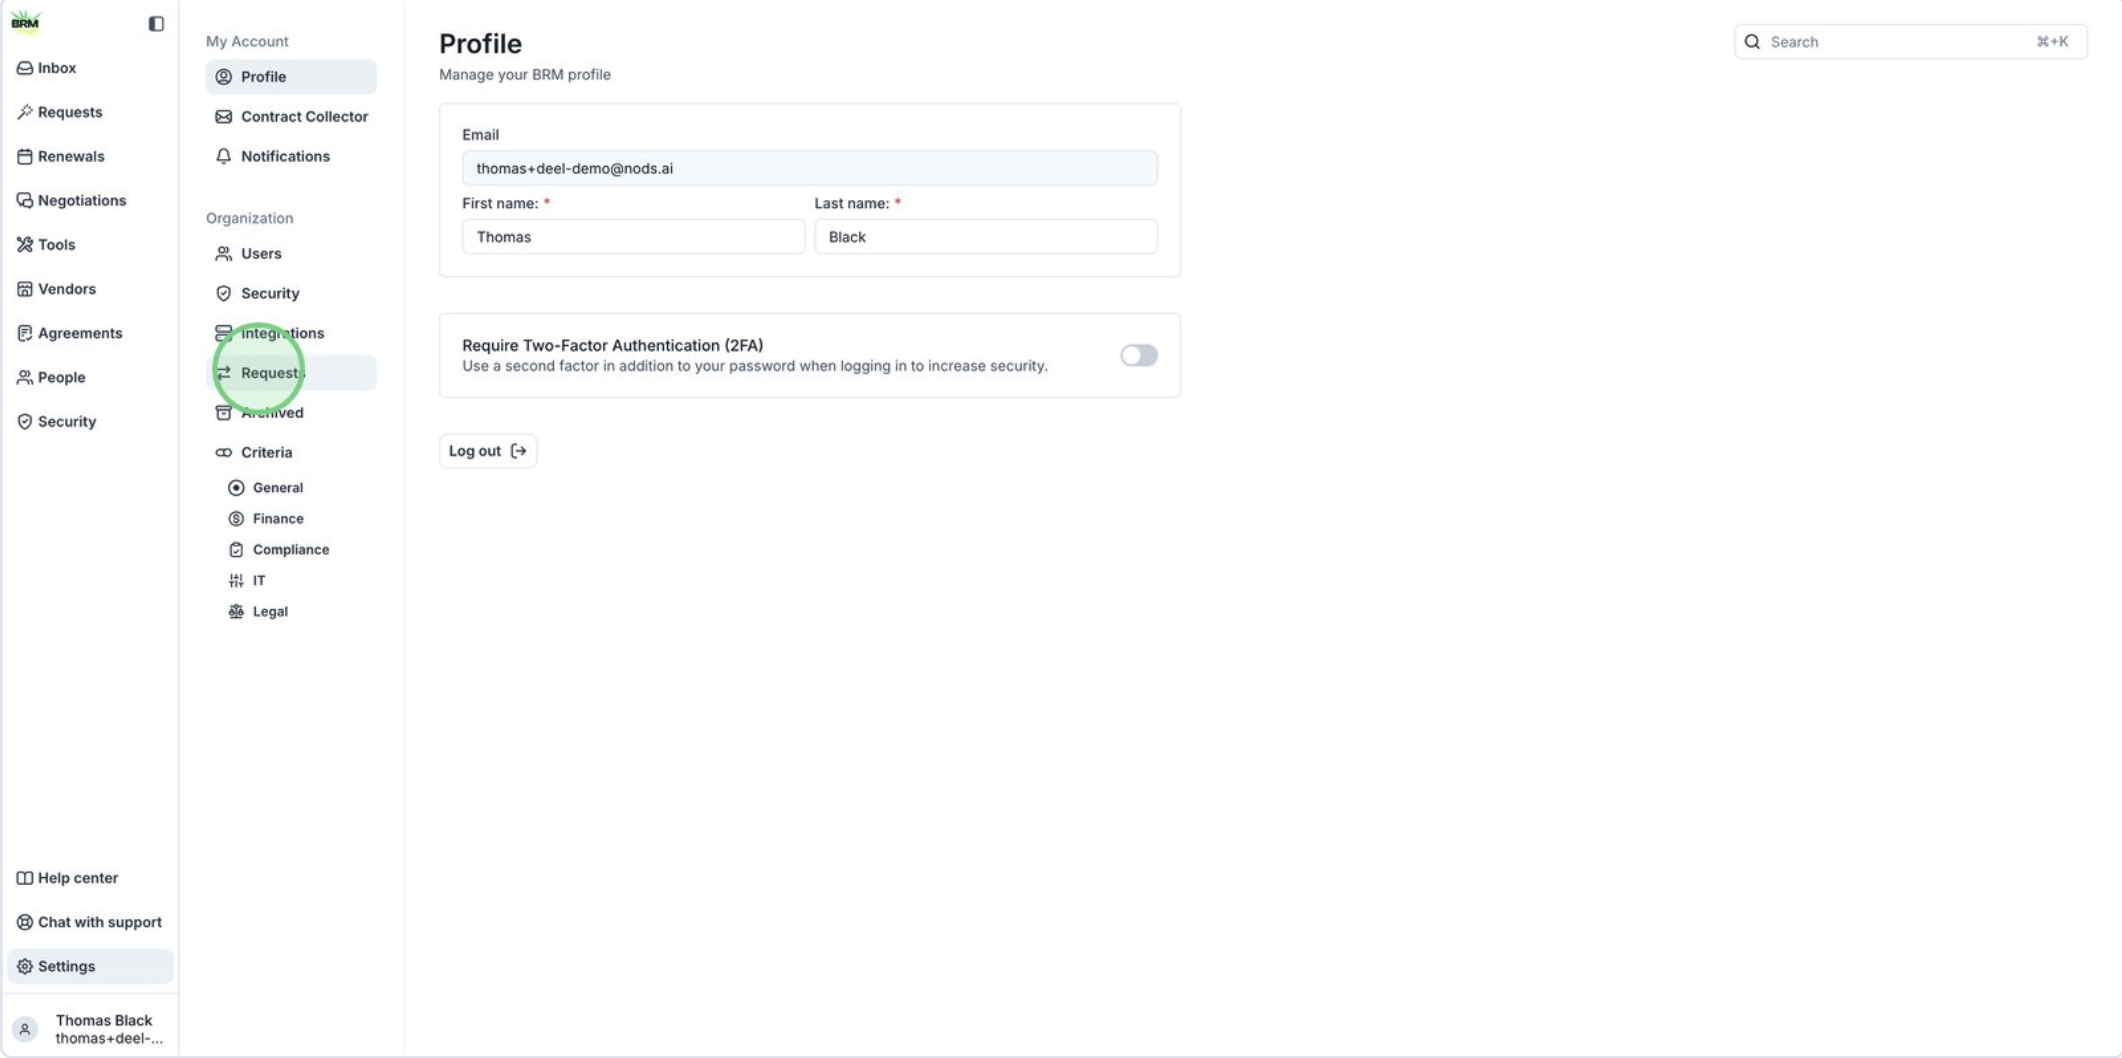
 2. Navigate to the Requests section to manage or create new purchase requests.
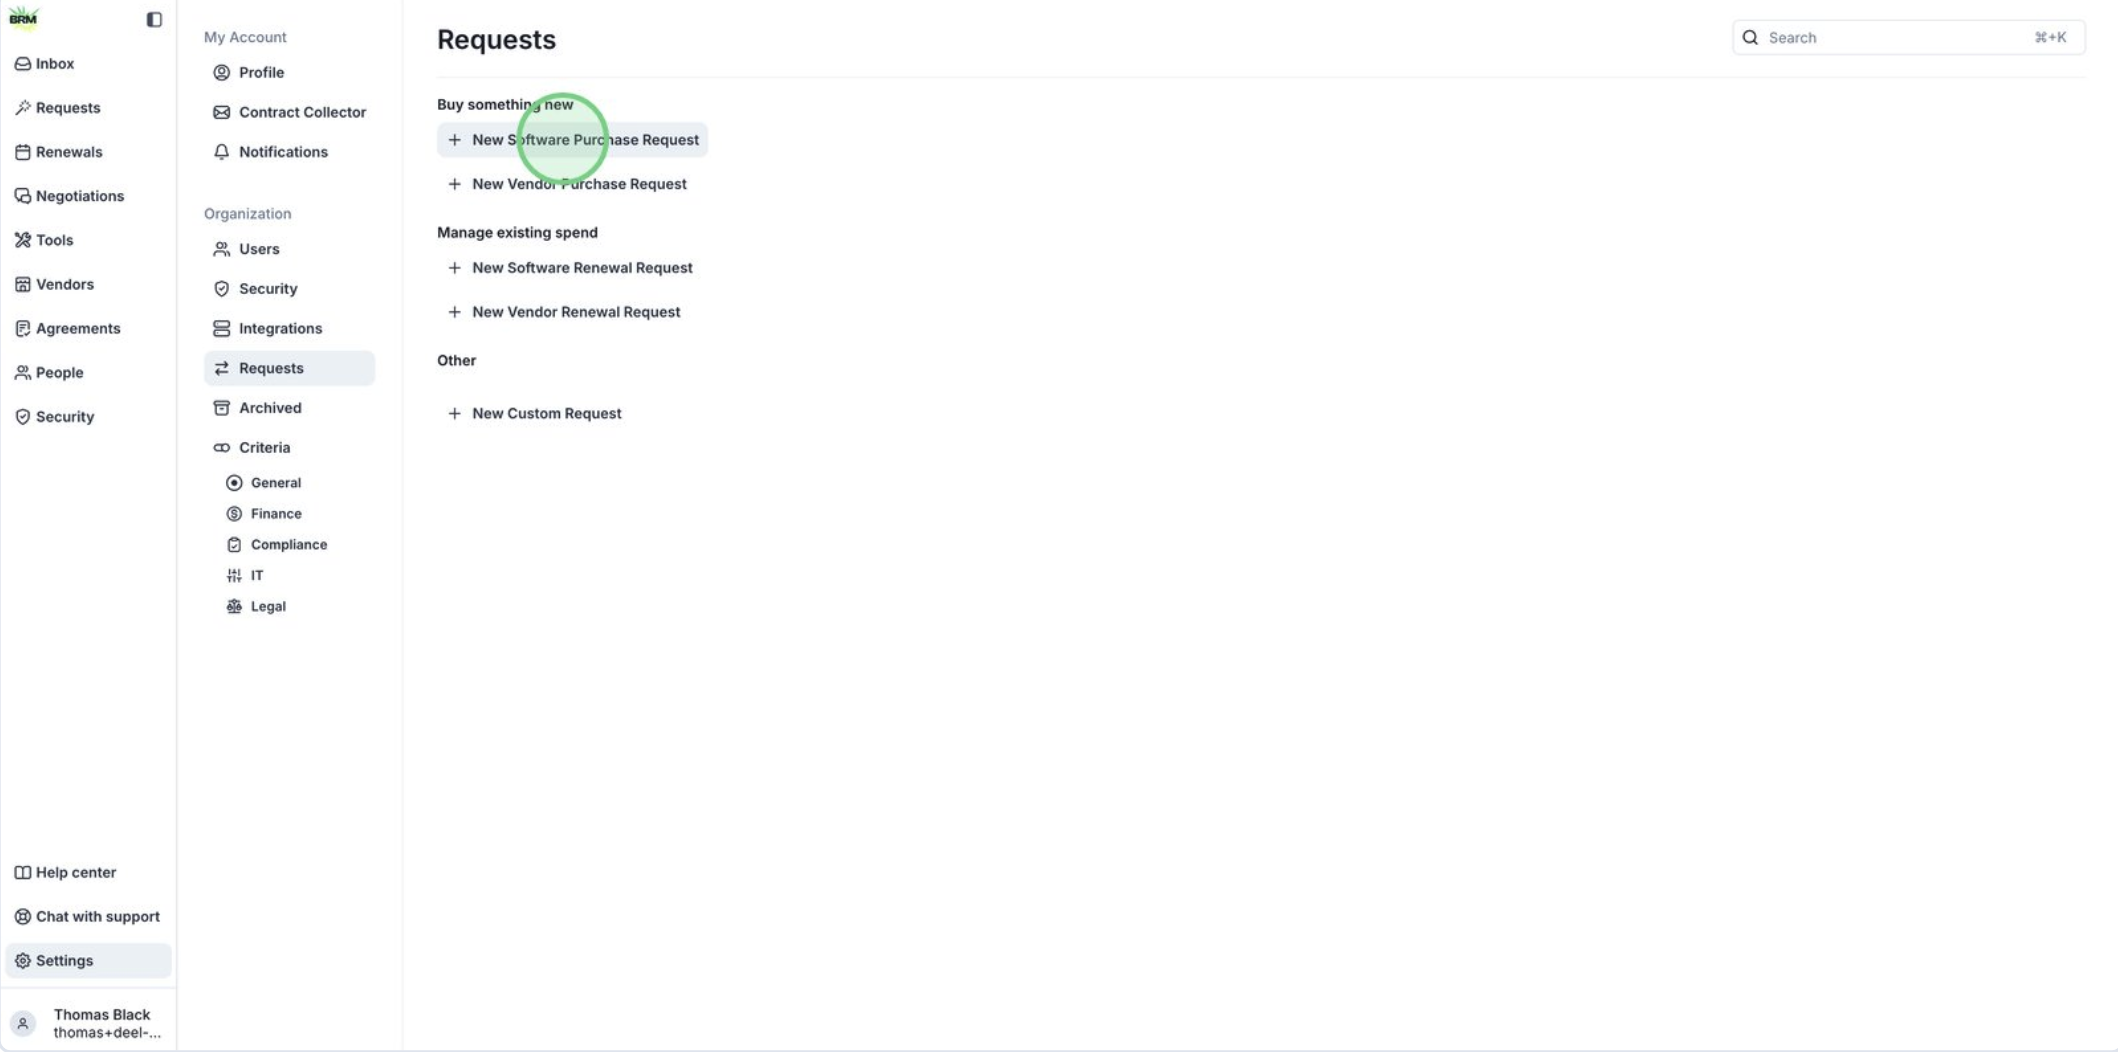
 3. Select New Software Purchase Request to begin configuring a new workflow for software procurement.
 4. Click the edit icon next to the request name to update the title of your software purchase request workflow.
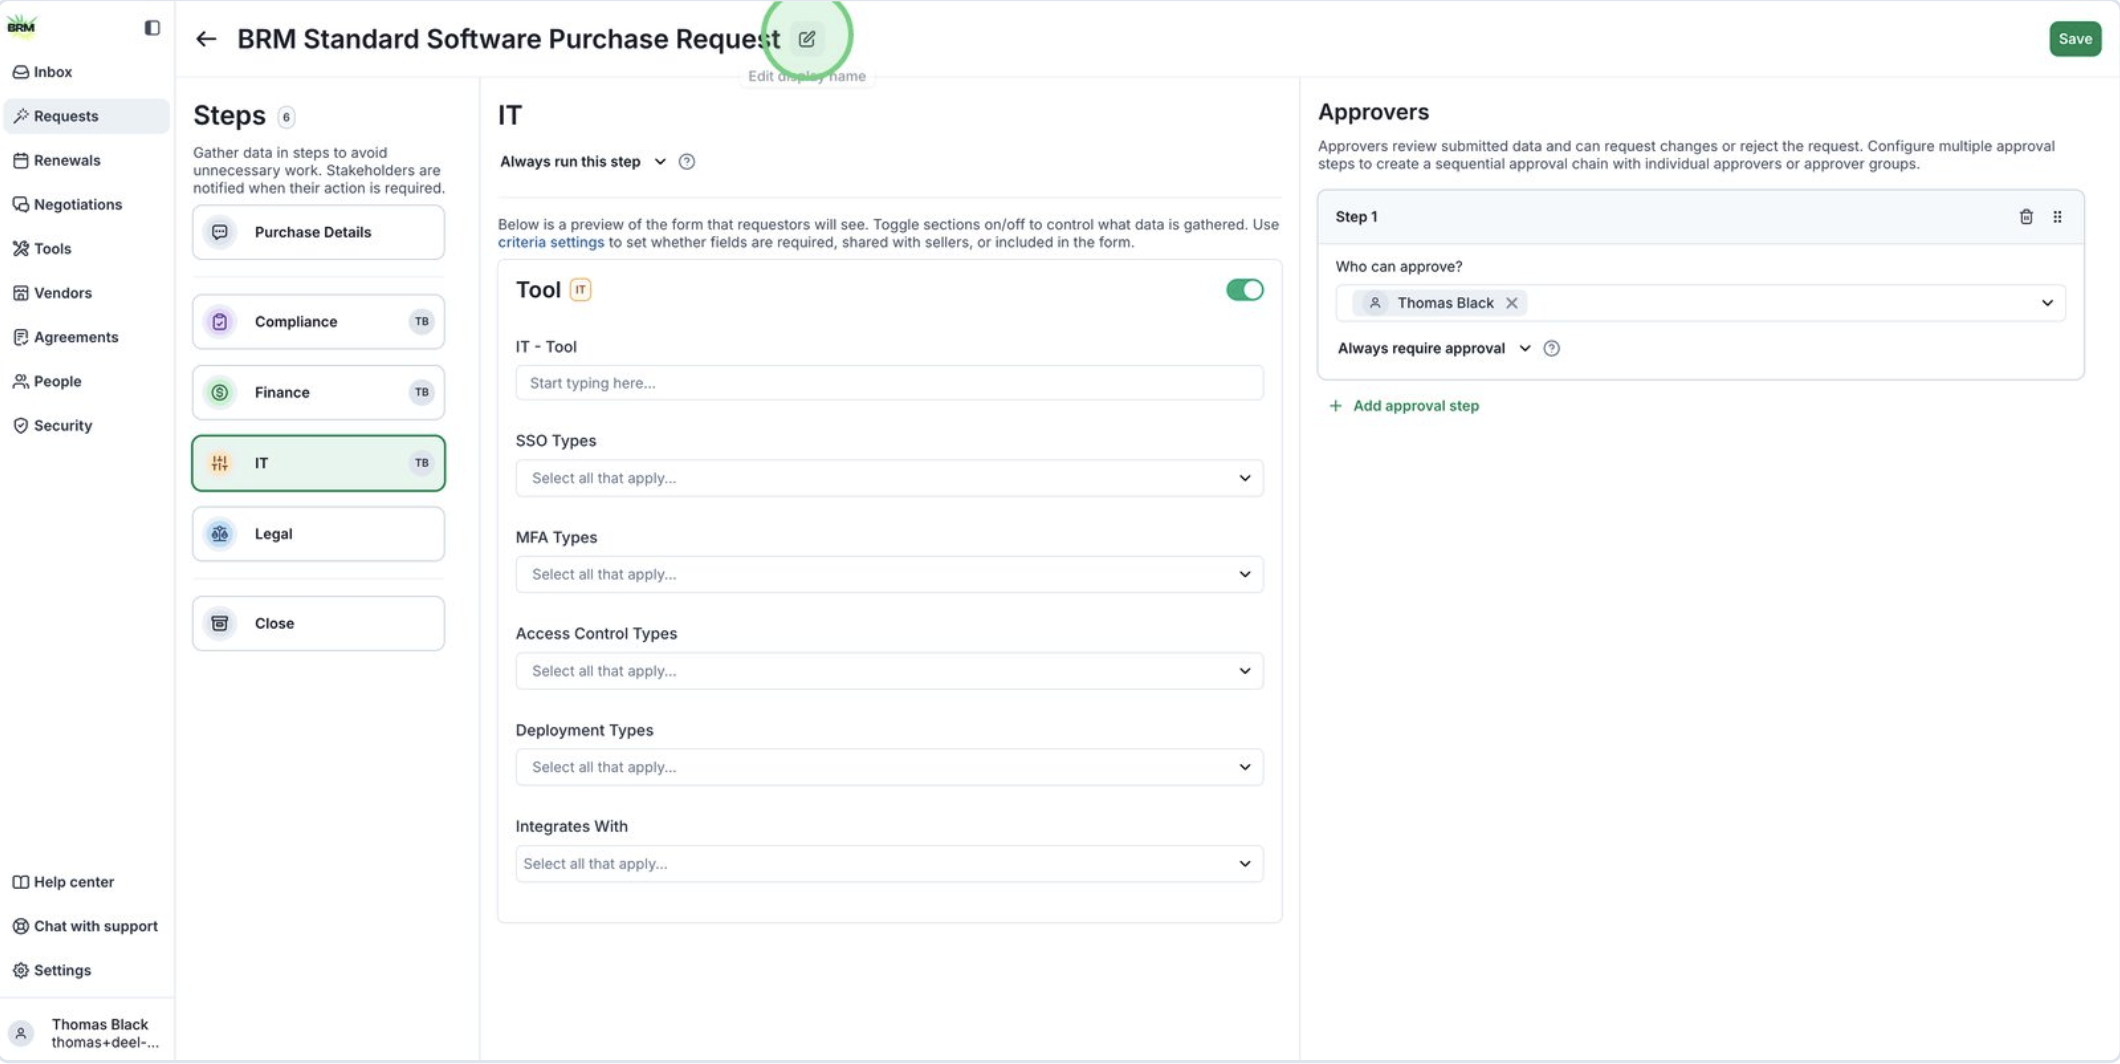 5. Take note of the different steps listed on the left side of the screen. You can add the steps required for your purchase workflow and remove any that aren’t needed.
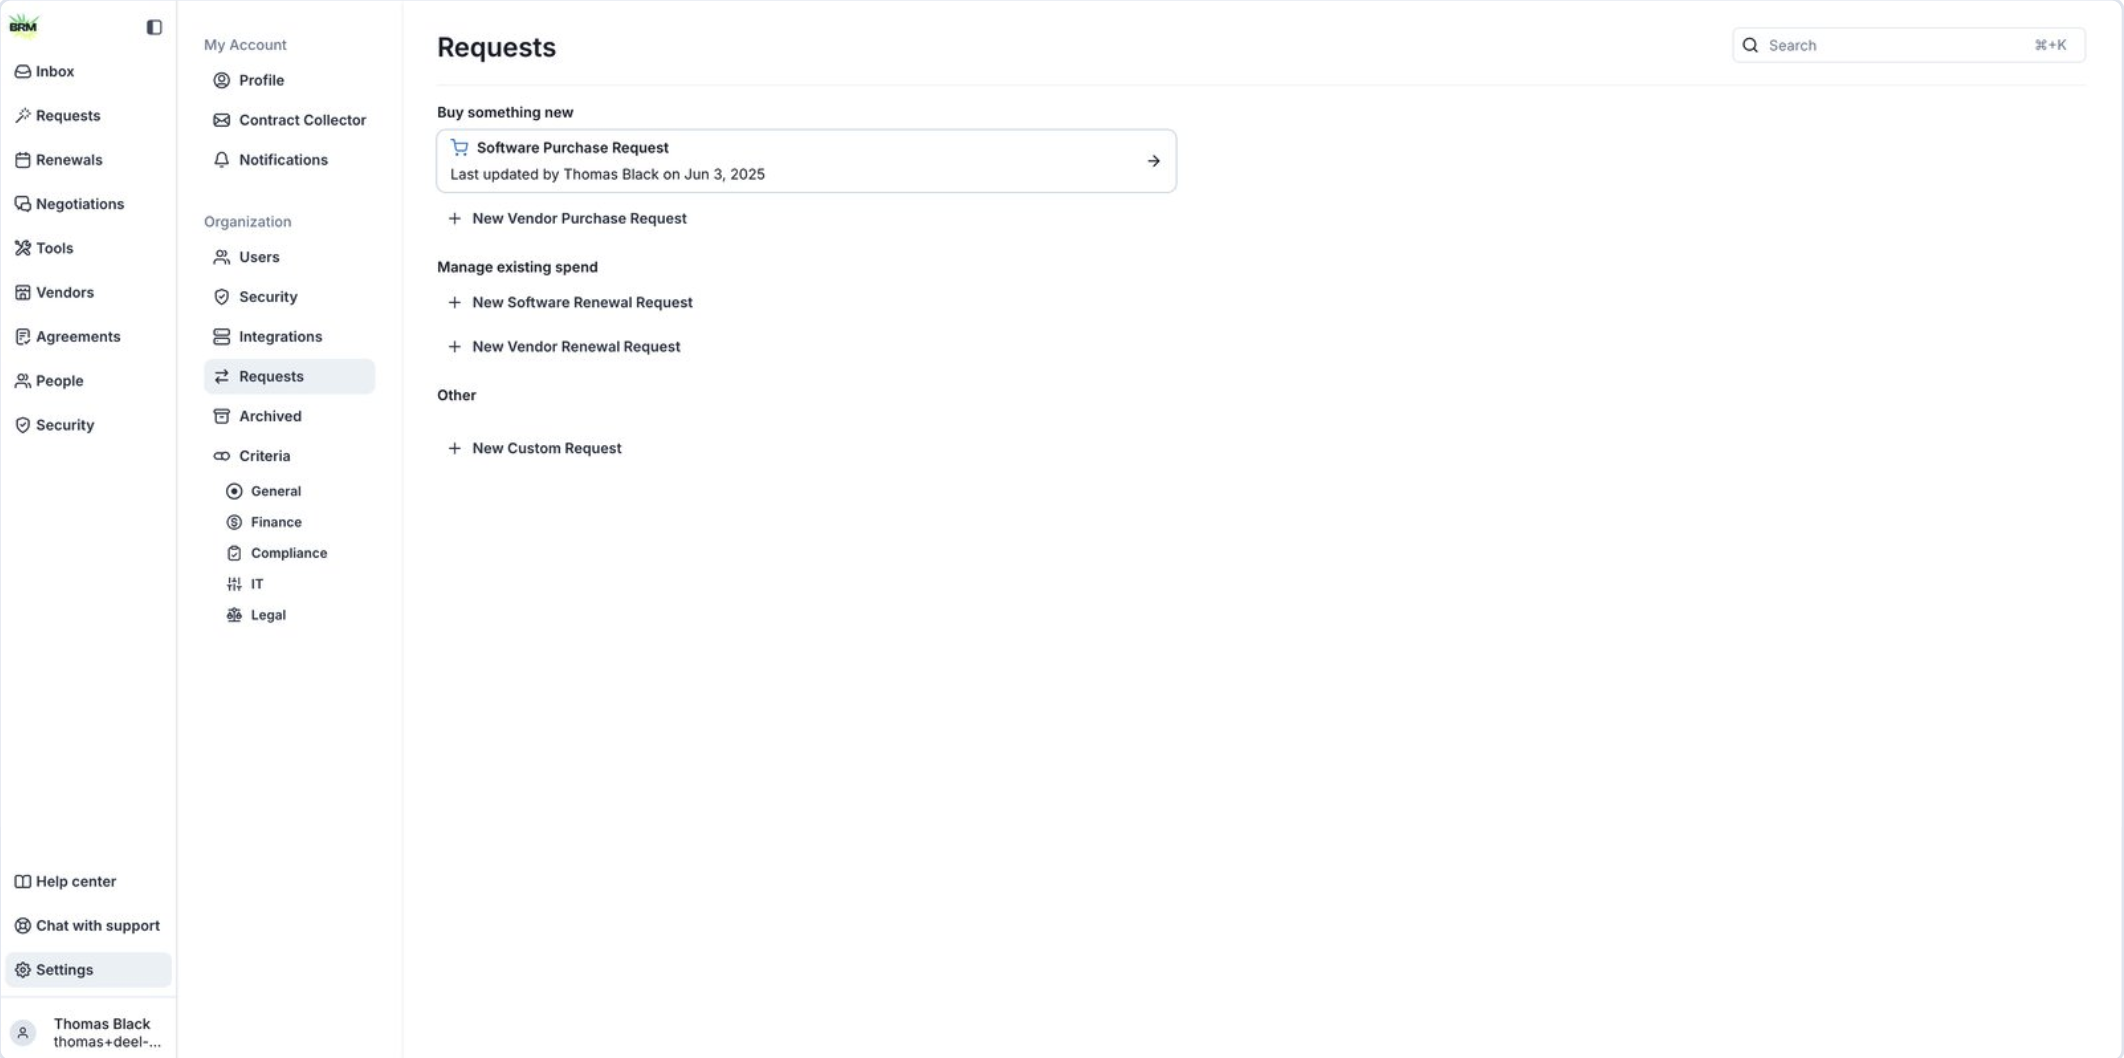
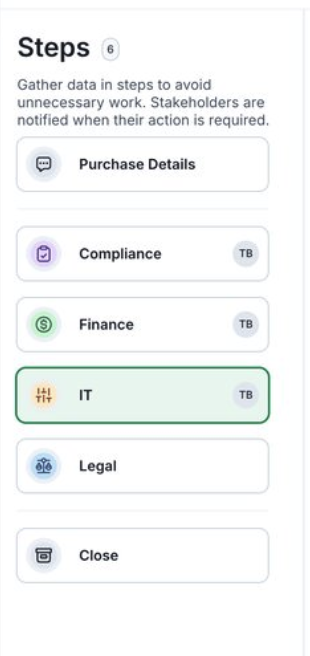 6. Click each step to review the existing standard criteria.
\*We will learn how to customize criteria in the next article
6. Click each step to review the existing standard criteria.
\*We will learn how to customize criteria in the next article
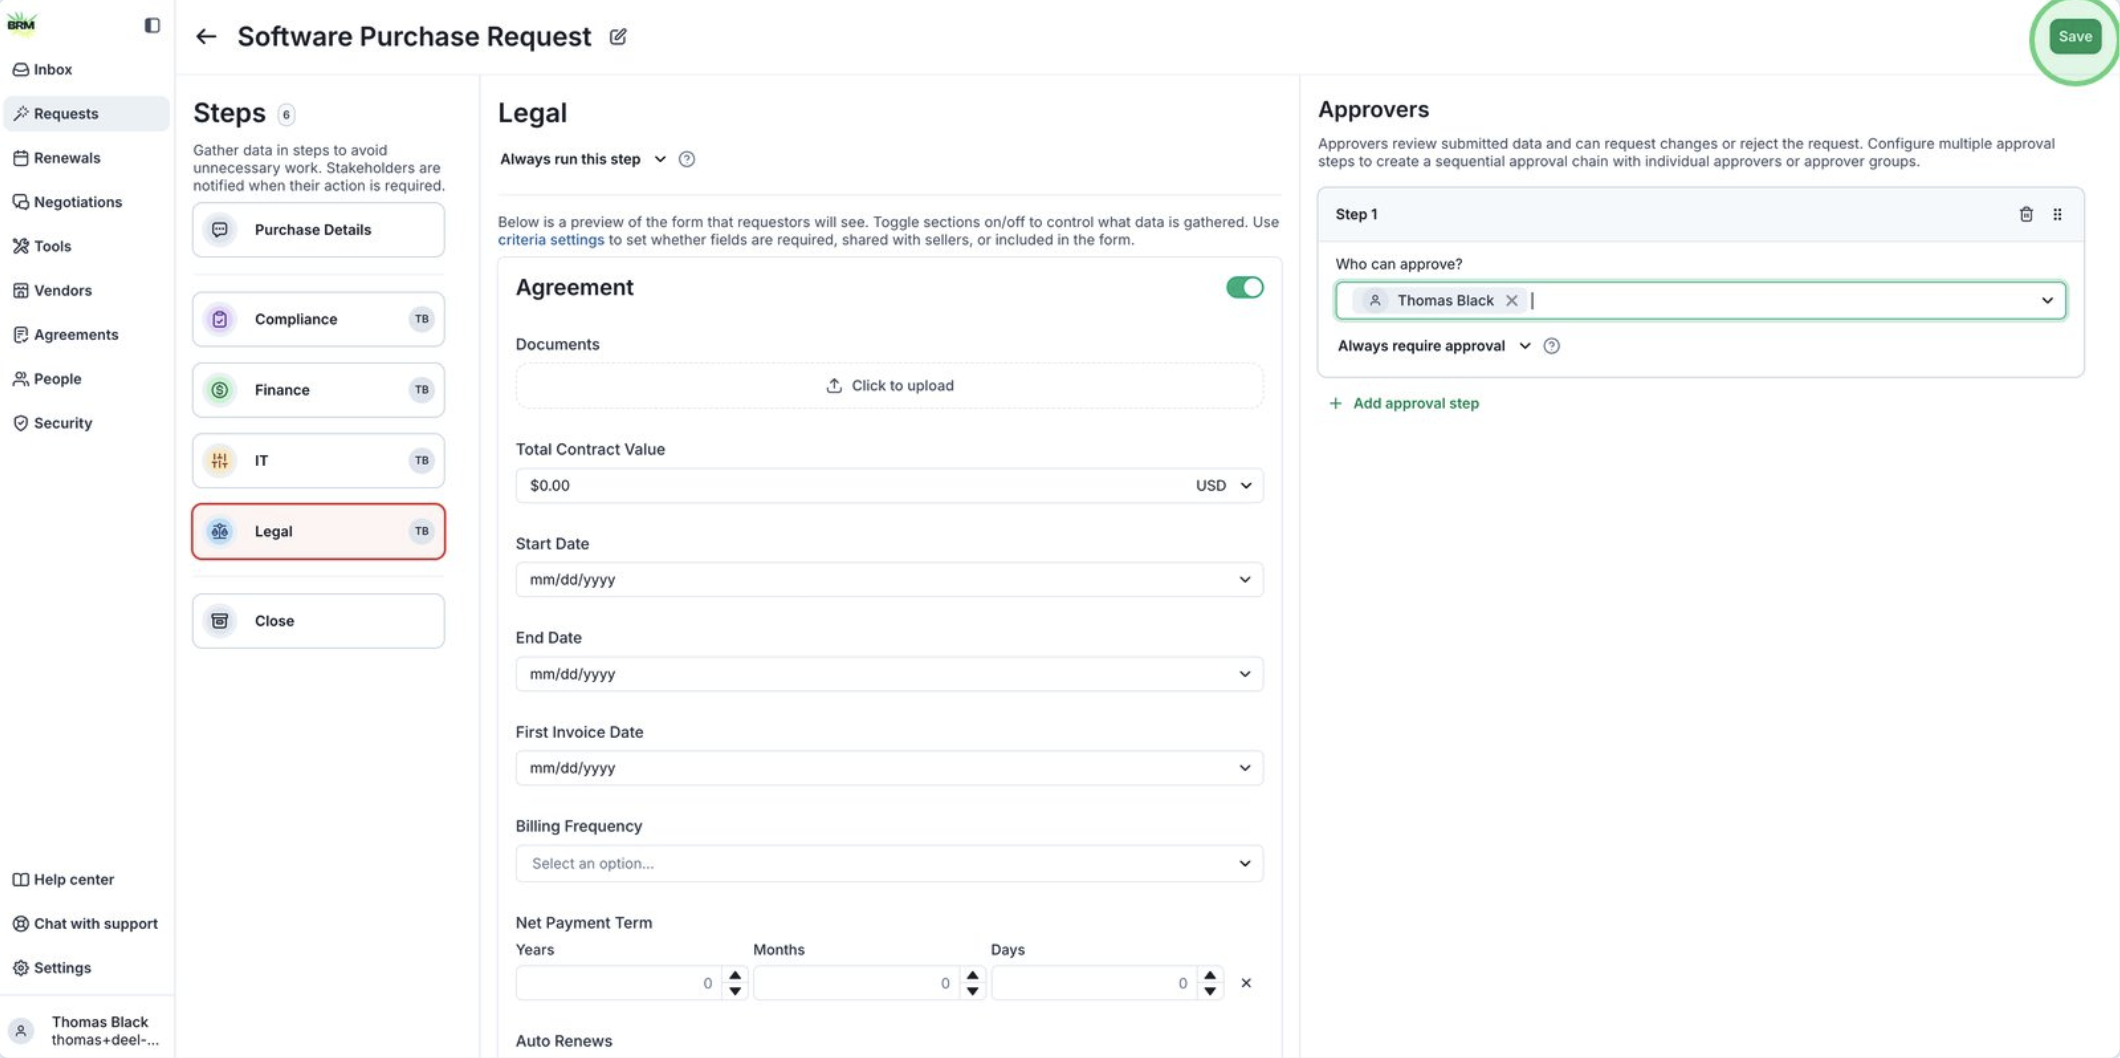
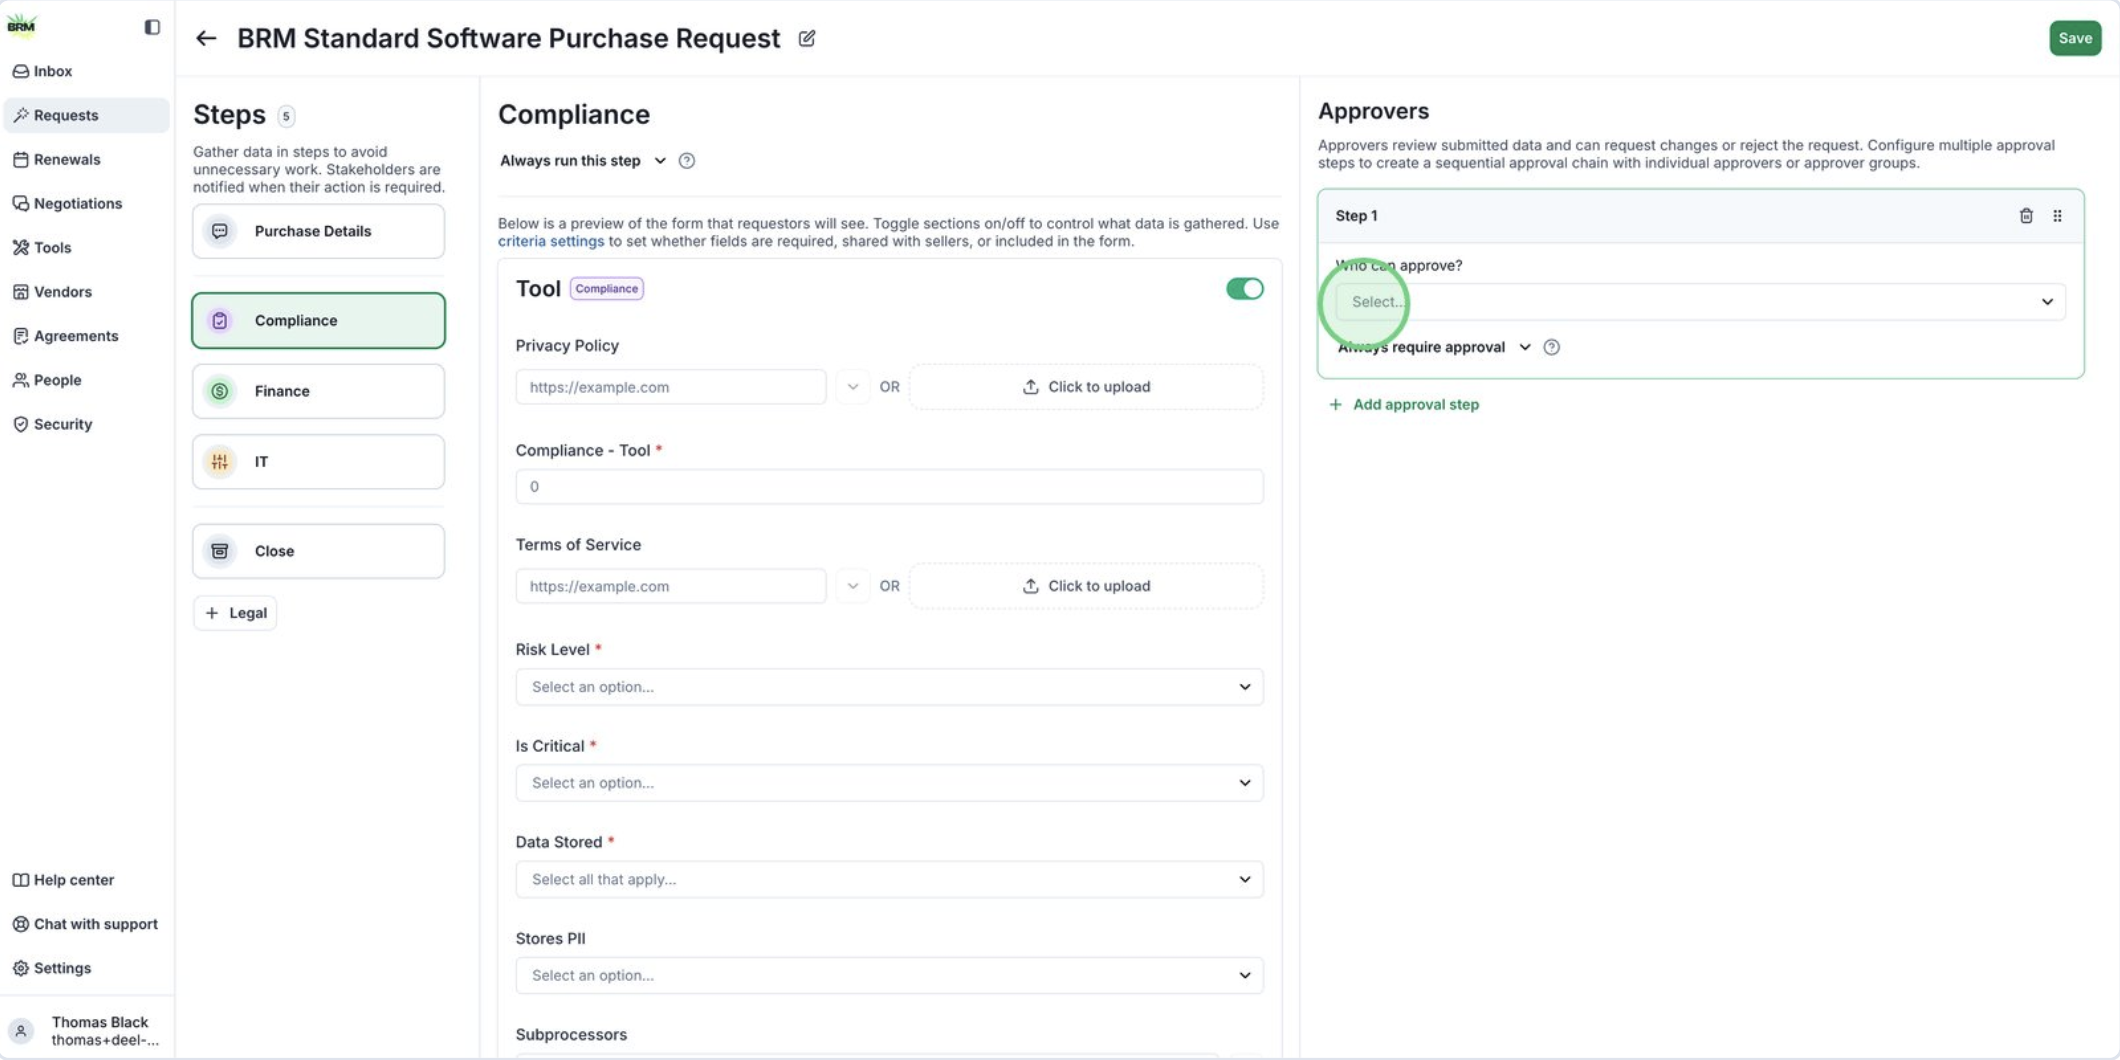 7. Within each step, you’ll see an **Approvers** section. This is where you assign the appropriate approver for that step.
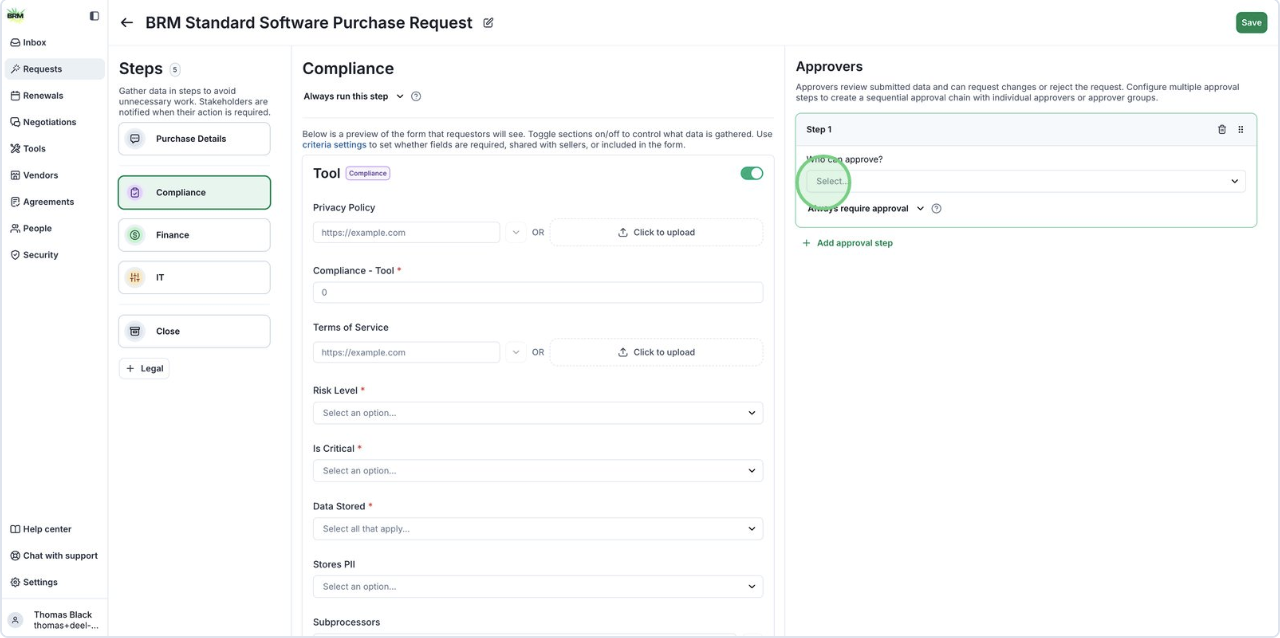 8. Once all approver are set, click Save in the upper right to save all workflow changes, including steps and approvers.
 9. Click the back arrow to return to the previous screen.
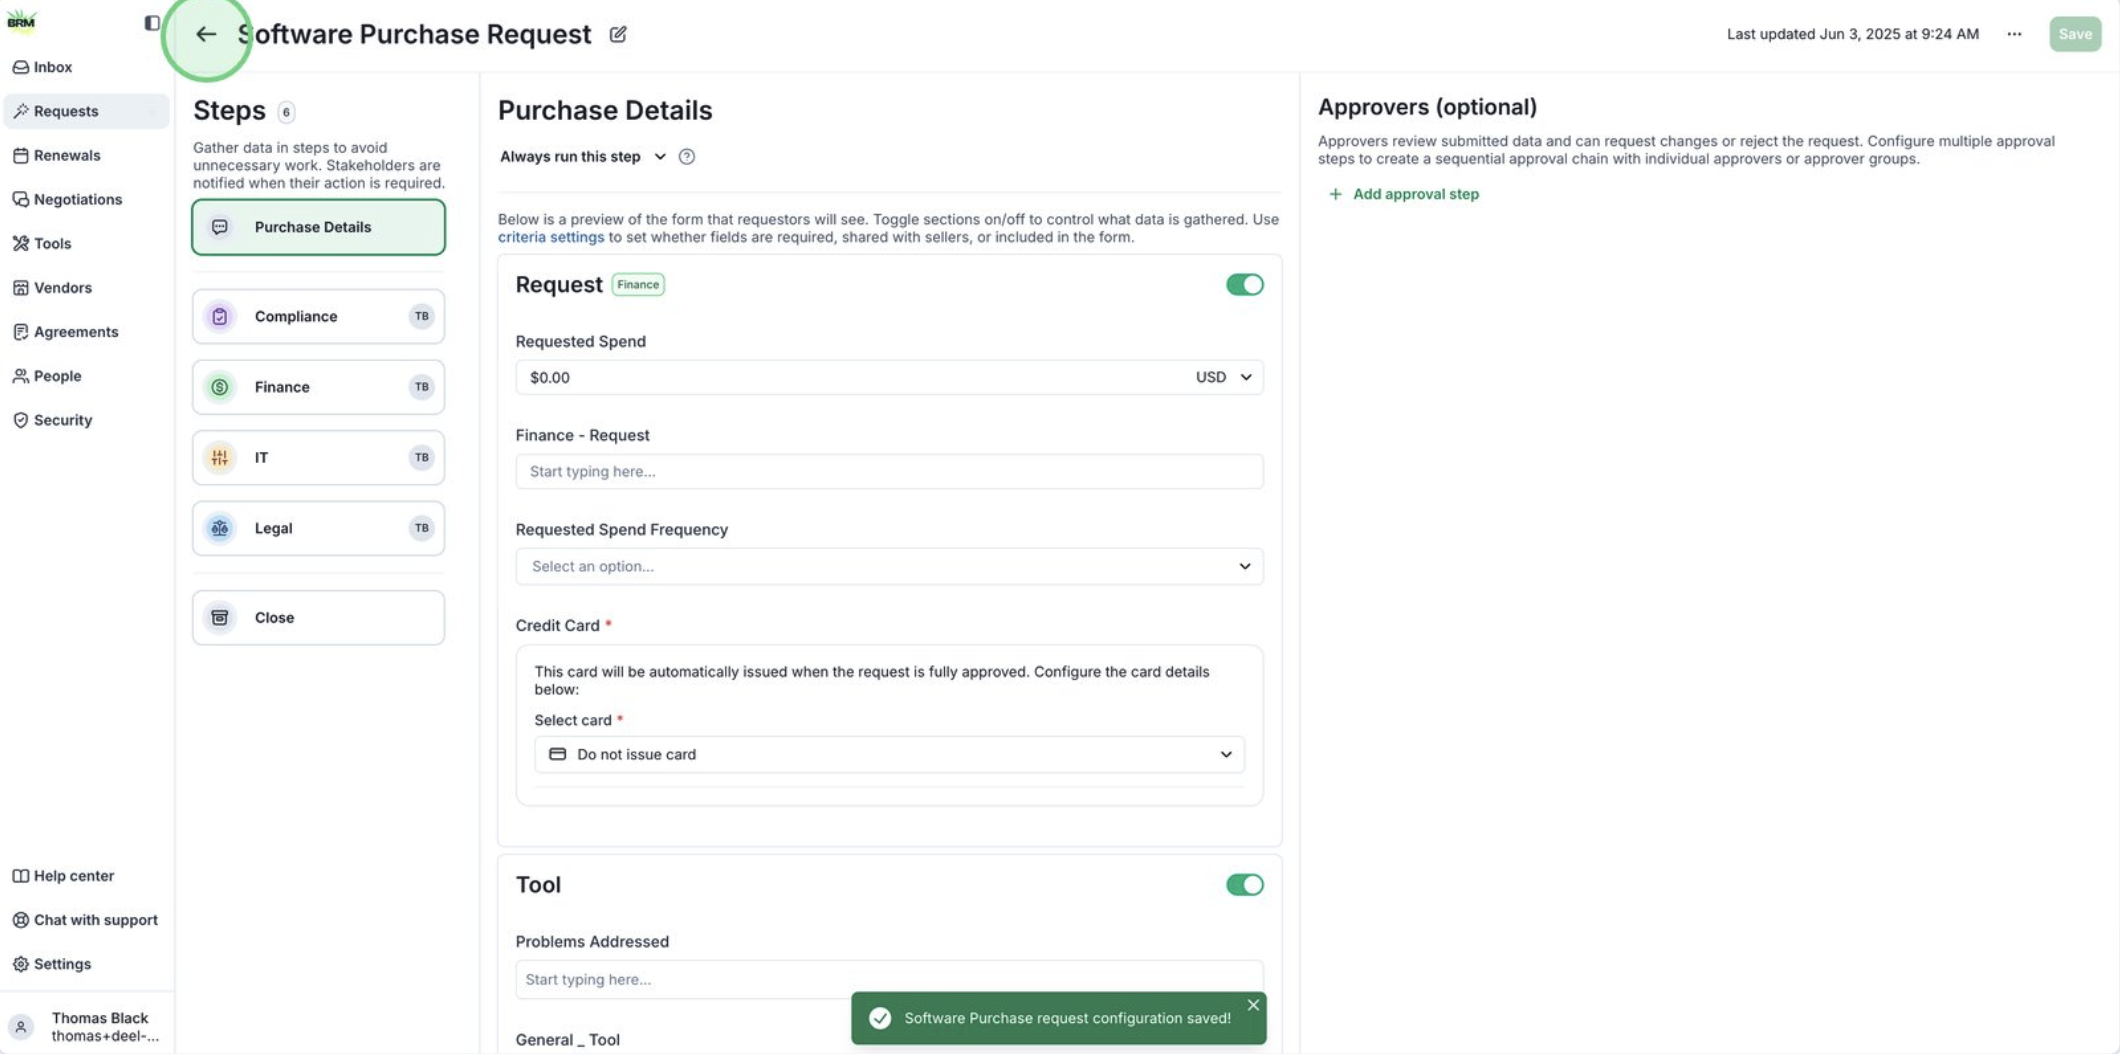 10. Here you will see your new Request Workflow. Return to this screen to make edits to the workflow in the future.